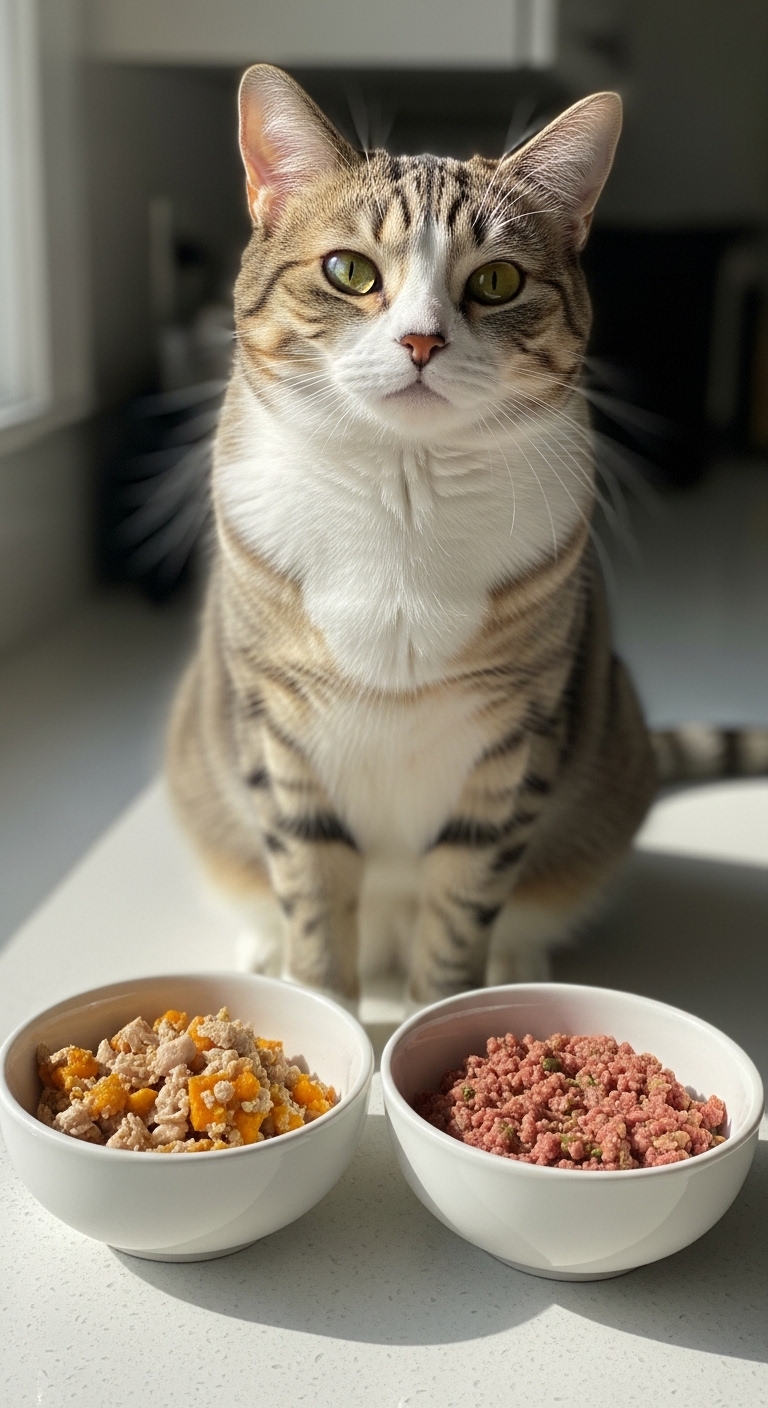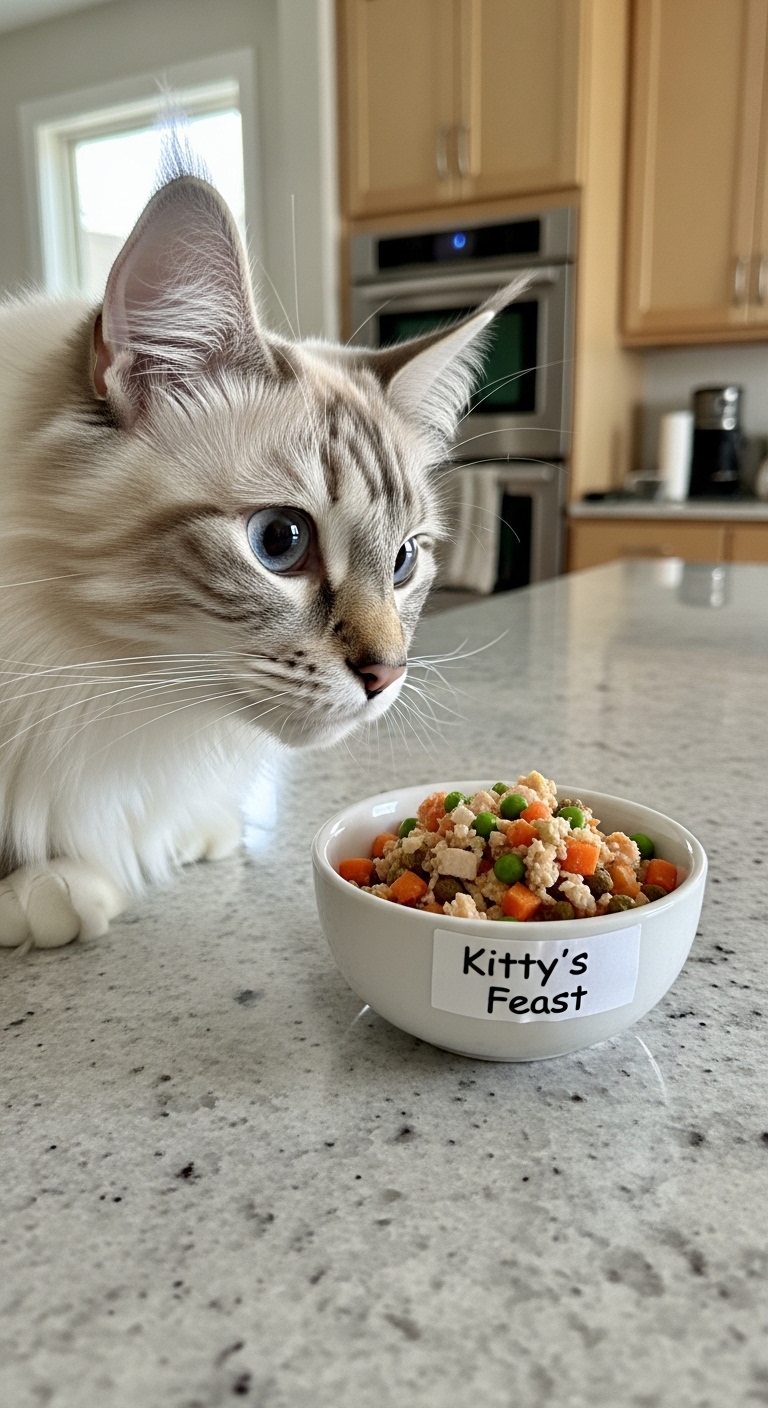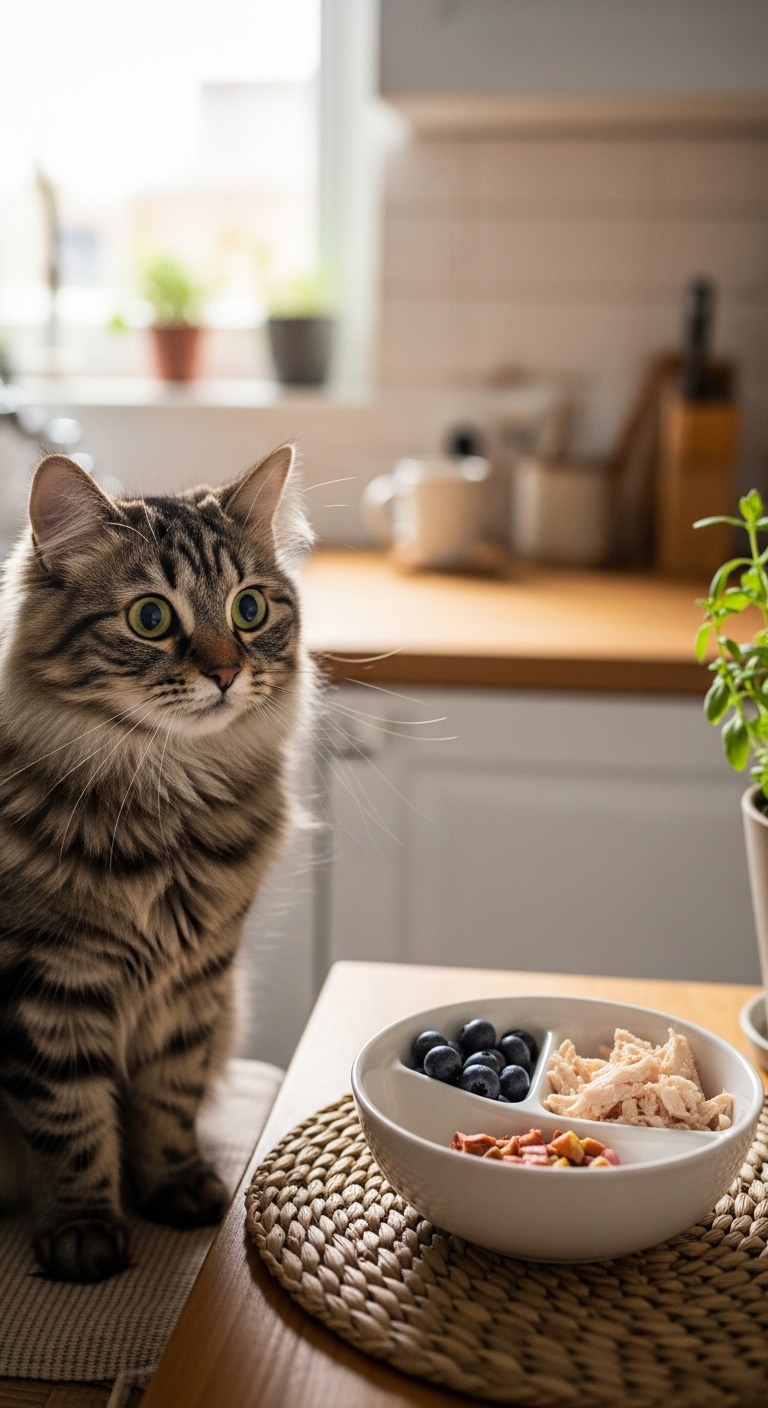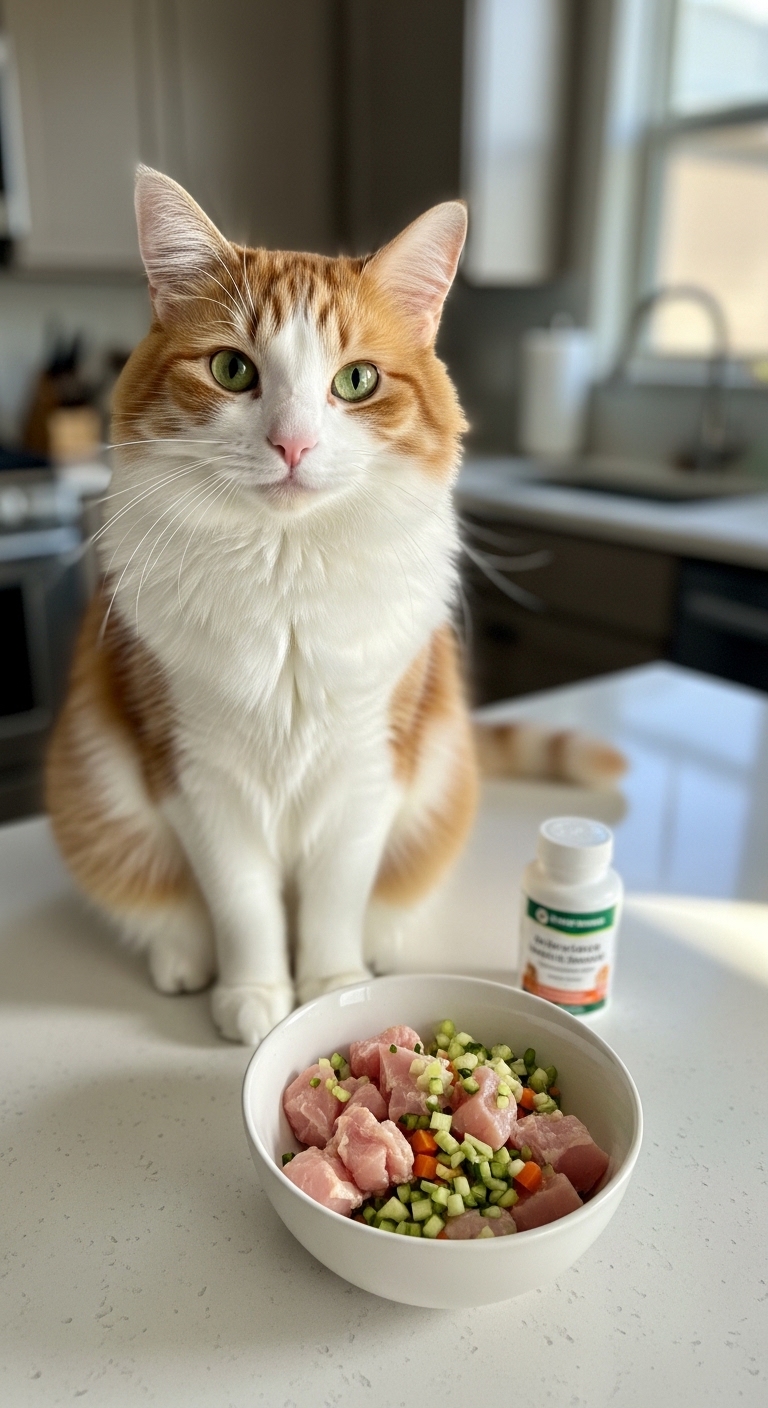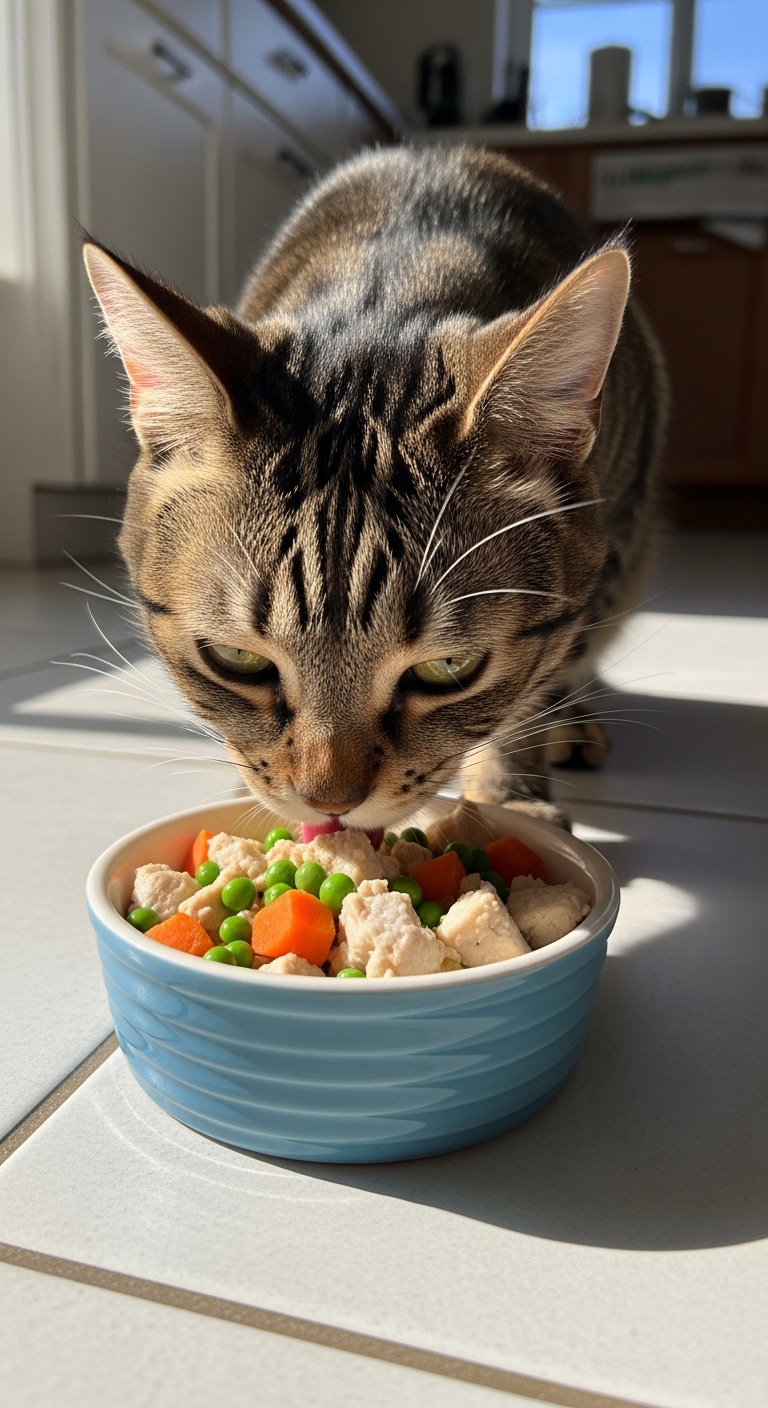
Homemade cat treats might seem like a luxury, but they’re actually a simple way to show your cat extra love while keeping their diet in check. Store-bought treats often contain fillers and preservatives that aren’t always necessary, and making them yourself lets you control exactly what goes into your cat’s snacks. Plus, it’s a fun way to bond with your pet: many cats go wild for the smell of fresh ingredients right from the kitchen.
I’ve noticed that cats who get homemade treats often seem more excited during training sessions: maybe it’s the novelty, or maybe they just love the taste of something made just for them.
Key Things to Understand
- Homemade treats should never replace balanced meals: but work as supplements
- Cats are obligate carnivores: so their treats should always include some form of animal protein
- Avoid ingredients toxic to cats: like onions, garlic, chocolate, and xylitol
- Keep portions tiny: even a single treat can be 10% of a cat’s daily calorie needs
- Store treats properly: in an airtight container in the fridge for up to a week or freeze for longer shelf life
What to Look For
Pay attention to how your cat reacts to new ingredients. Some cats adore plain cooked chicken, while others might turn their nose up at anything but fish. Texture matters too: some cats prefer soft, crumbly treats, while others like something they can chew. If your cat has a sensitive stomach, start with a single ingredient like plain baked chicken breast before mixing in other components. Watch for signs of digestive upset like vomiting or diarrhea after introducing new treats, and adjust accordingly. The best treats are the ones your cat actually enjoys and that don’t cause any tummy troubles.
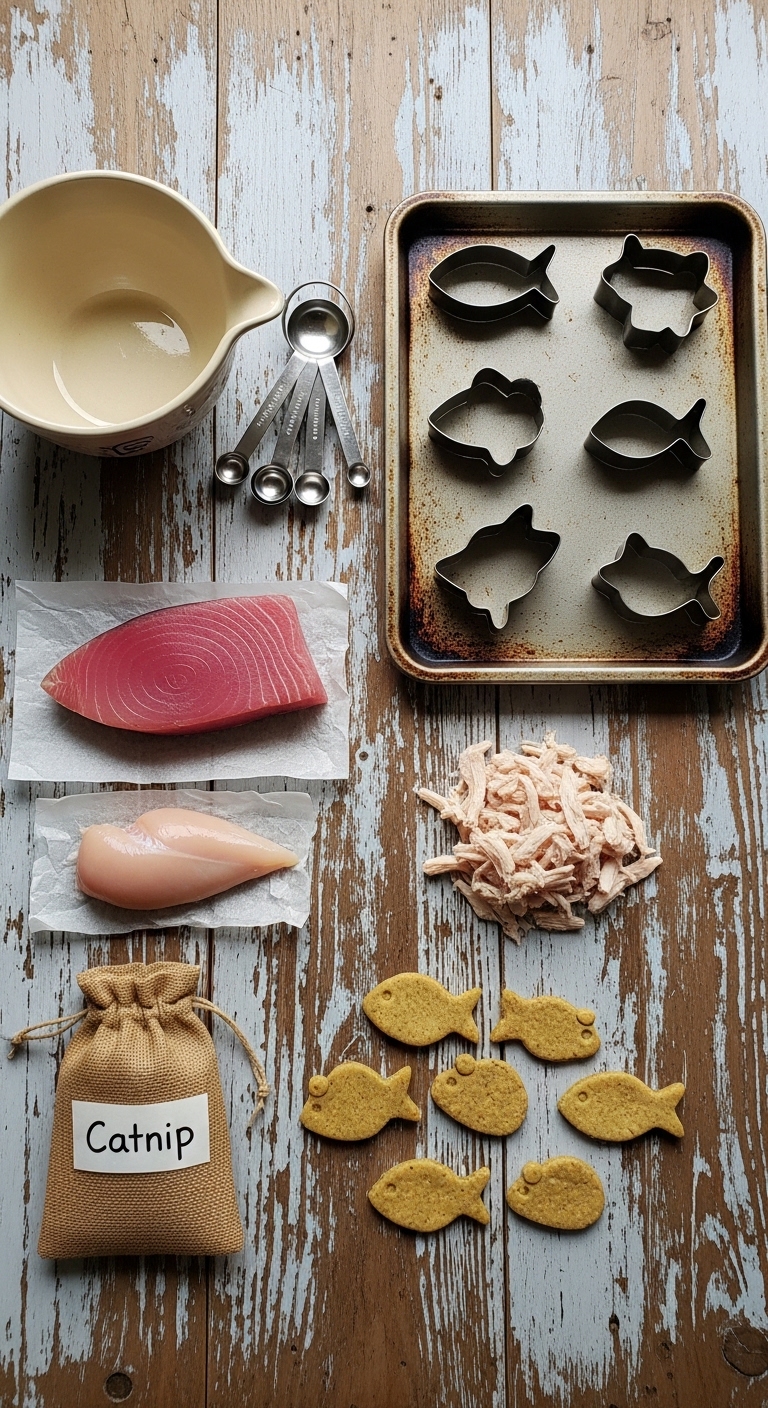
I once made a big batch of tuna treats only to realize my cat preferred them cold straight from the fridge. Now I always keep a few in the freezer for quick, appealing snacks. A common mistake is overdoing the oil or butter in recipes, which can lead to an upset stomach or weight gain over time.
Handling Picky Eaters
For picky eaters, start with a tiny piece of the treat and reward any interest, even if they don’t finish it. Consistency in texture helps too: if you switch between soft and crunchy too often, some cats get frustrated.
Dietary Balance
Remember that treats should always be a small part of your cat’s diet, no matter how much they beg.
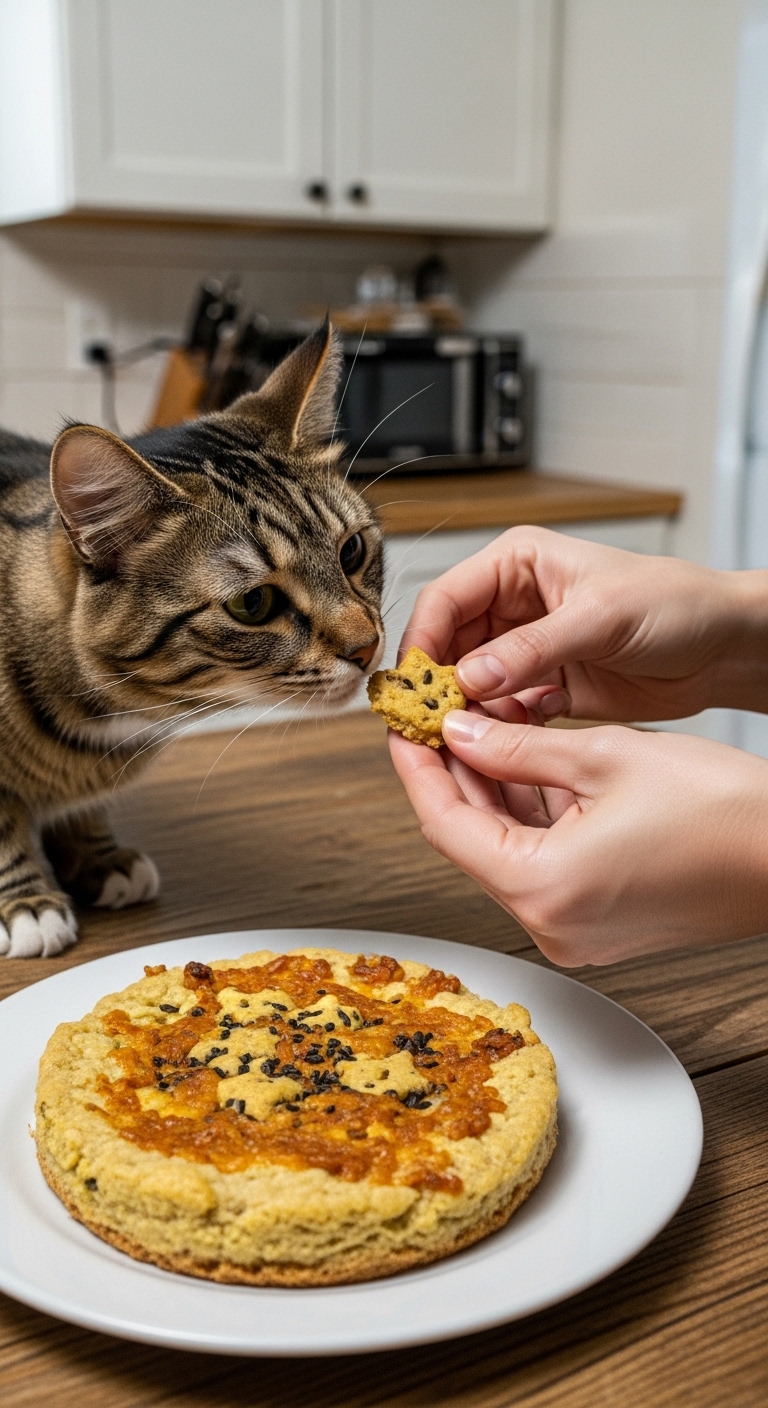
Homemade treats can be a rewarding way to care for your cat while keeping their diet healthy and exciting.
Frequently Asked Questions
- → What ingredients are safe for homemade cat treats?
Safe ingredients include cooked chicken, tuna, salmon, pumpkin puree, catnip, and small amounts of oat flour. Avoid onions, garlic, chocolate, and xylitol, which are toxic to cats. Always check with your vet before introducing new ingredients.
- → How long do homemade cat treats last?
Most homemade treats stay fresh for 1-2 weeks when stored in an airtight container in the fridge. For longer storage, freeze them for up to 3 months. Thaw at room temperature before serving.
- → Can I use raw ingredients in cat treats?
Raw meat or fish can carry bacteria like salmonella, so it's safer to cook ingredients thoroughly before baking treats. Ensure all components reach an internal temperature of 165°F (74°C) to kill pathogens.
- → How do I know if my cat likes the treats?
Offer a small piece and observe your cat’s reaction. Signs of enjoyment include purring, tail wagging, or eager eating. If your cat ignores or avoids the treat, try a different flavor or texture.
- → Are homemade treats better than store-bought?
Homemade treats let you avoid artificial preservatives, fillers, and excessive salt or sugar. They’re also customizable for dietary needs, allergies, or preferences. However, store-bought treats are convenient for travel or emergencies.
- → Can I make treats for cats with allergies?
Yes! Use hypoallergenic proteins like rabbit or duck, and avoid common allergens like beef or dairy. Consult your vet to identify specific allergies before selecting ingredients.